As customer expectations for efficiency and customer experience continue you to rise, every aspect of your distribution management must be optimized.
Effective sales order management software integrates with your other systems and tools that are already in place. This allows you to have complete visibility over all of your order management operations. Order processing software, like the Sales Order Management module in Acumatica, lets you centrally manage sales activities. The software functionality includes the ability to enter quotes, fulfill sales orders, create shipments, track prices, apply discounts and check available inventory.
In today’s video training session, we will go into how to use Acumatica’s Sales Order module so you can do just that.
Interested in learning more about Acumatica’s Distribution Management Suite and the Sales Order Management module? Check out our posts: What is ERP – Distribution Management and Distribution Tools: Sales Order Management.
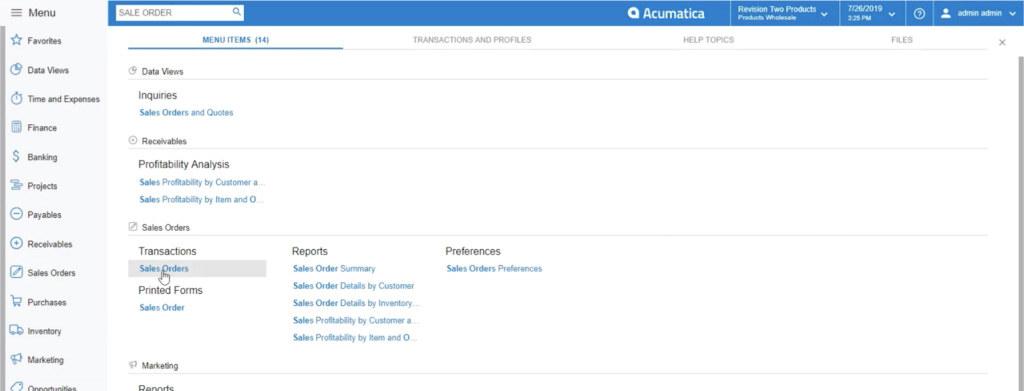
First, I will need to navigate to the Sales Order module, and I will do so by using the overall search engine.
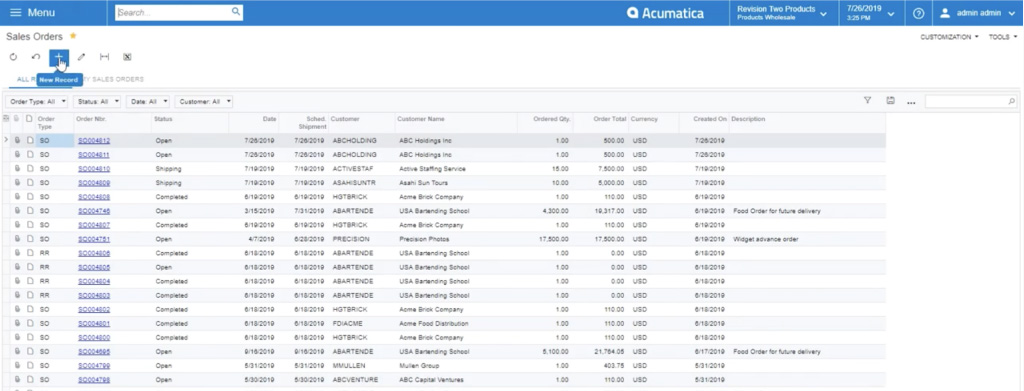
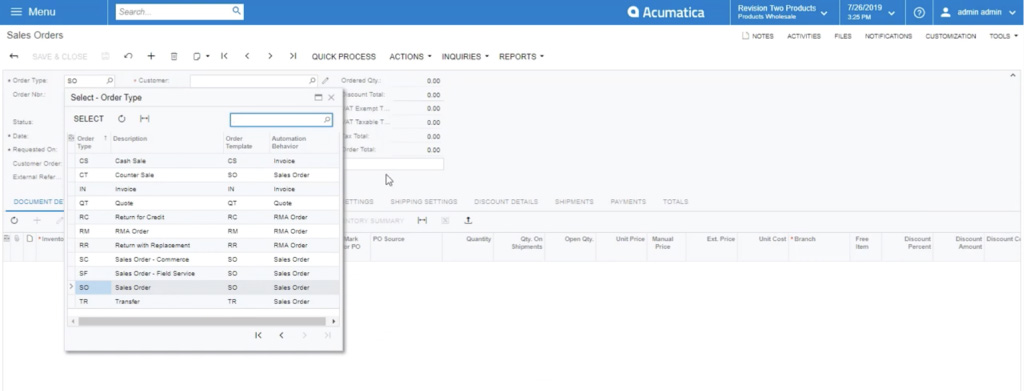
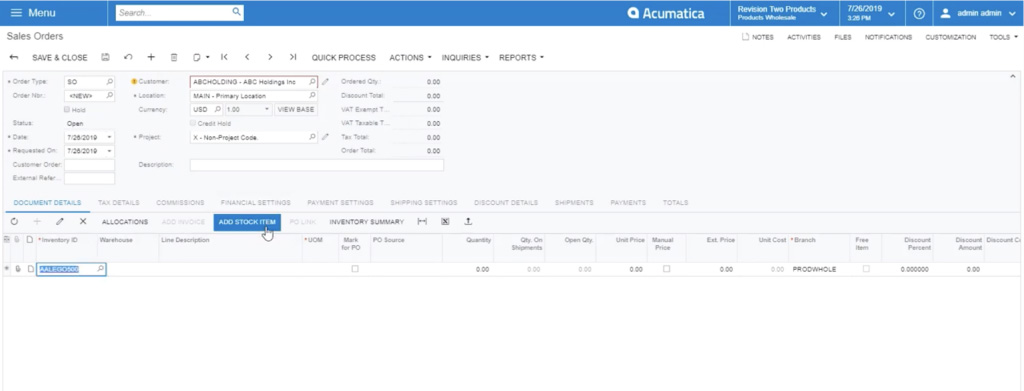
So when I open up a Sales Order module, I’ll create a new record by selecting the New Record button. Once I open this, I can see that Acumatica offers a variety of different order types. These order types include credit memos, RMA’s, etc. but in this particular instance, I will be using a sales order.
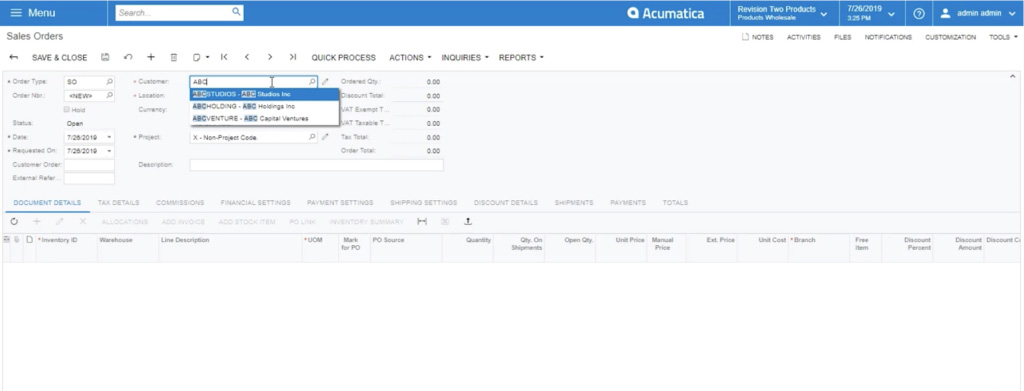
Acumatica does have a built-in CRM system, so that allows me to choose my customer a few different ways. I can do so either by starting to type in the name of the client in the Customer search field or by opening up a list view. I can do this by selecting the magnifying glass where I can specify a client from here.
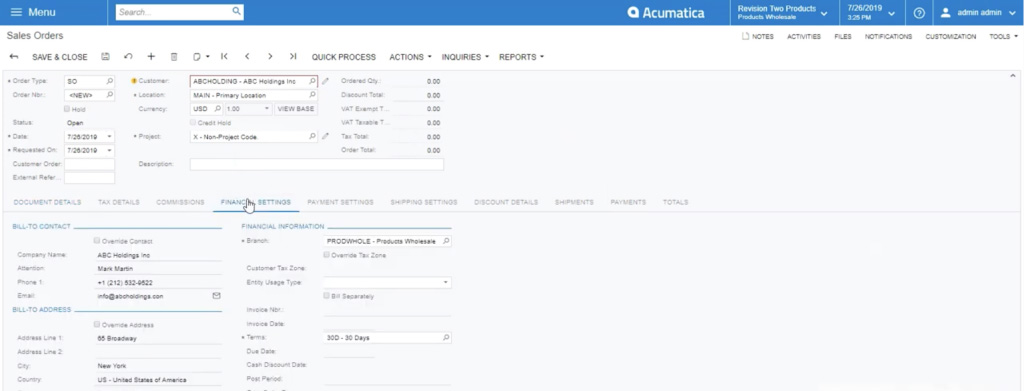
Once that’s completed, I’ll go into my Financial Settings where I can see all of this specific client’s details. This includes their terms, default addresses and anything else that might be relevant to the business.
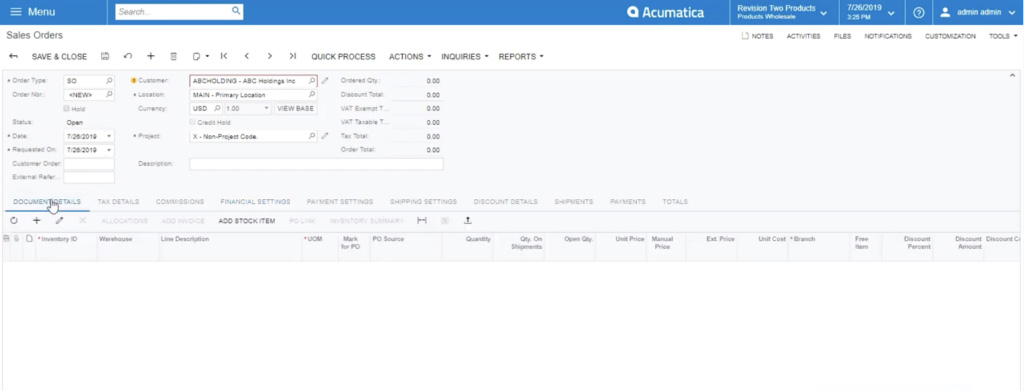
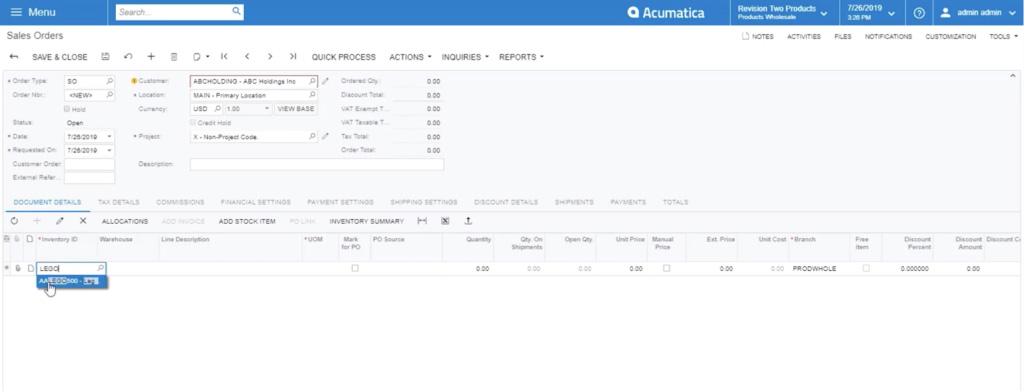
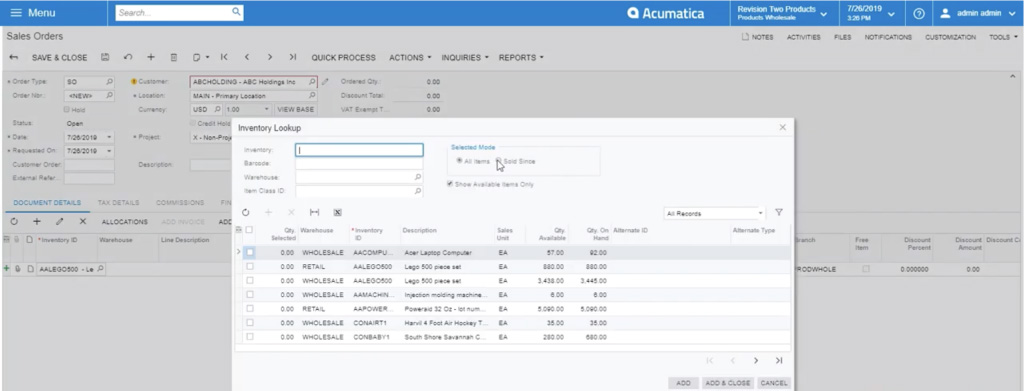
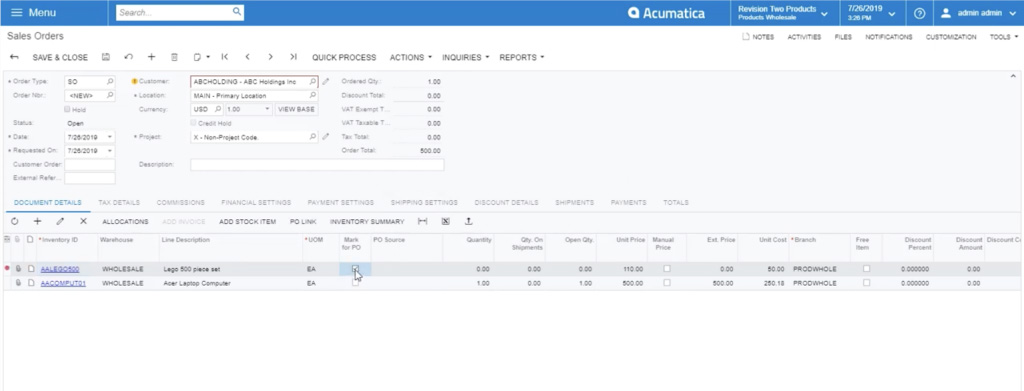
Under the Document Details, I’m able to add inventory items by selecting them from the row-level. Or, I can select the Add Stock Item to search for my customer history as well. When I click the Add Stock Item, an Inventory Lookup pop-up comes up.
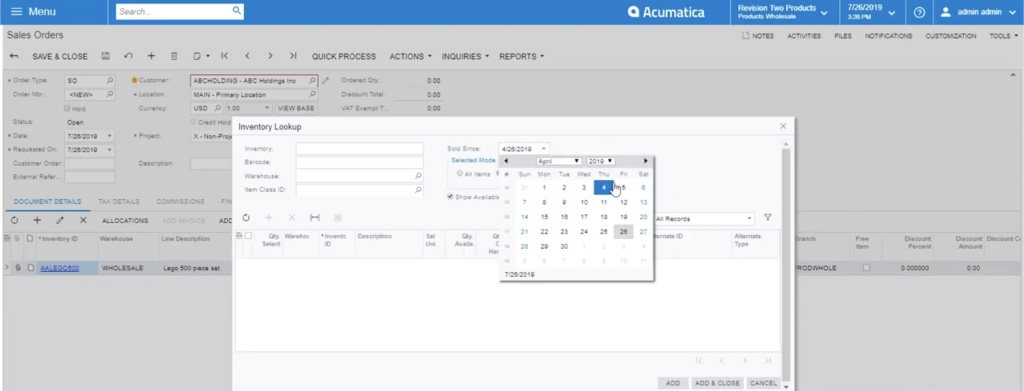
If I select the Sold Since button and a date range, I will see the order history for that particular client. This is helpful when it comes to offering alternative products or even upselling complementary products that you maybe are not selling to a customer.
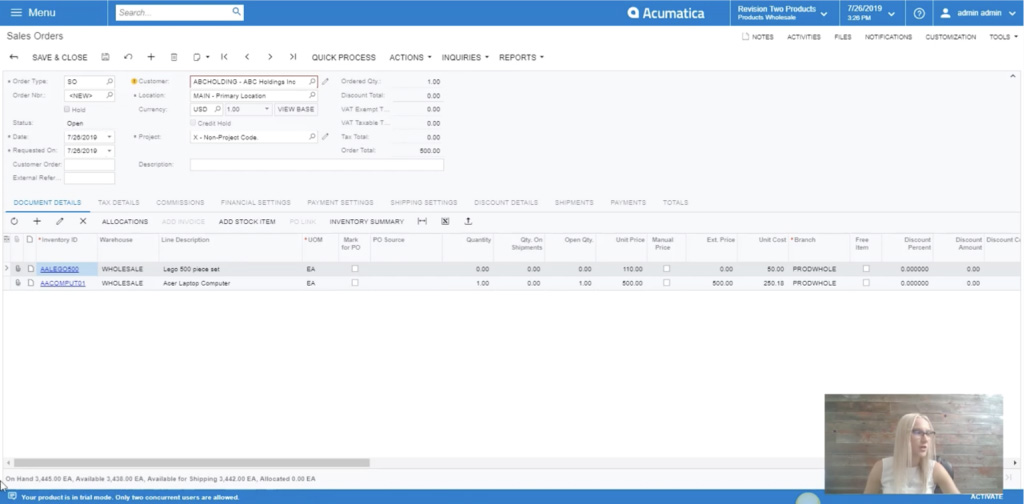
All of the inventory information is real-time because Acumatica is a real-time ERP system. So you will see all of your inventory information on the bar at the bottom of the window. This information includes your allocated quantities, available for shipping, your inventory on hand and your available quantities.
In one of the rows under the Document Details tab, where all of the customer’s inventory information is listed, is a Mark for PO checkbox. This Mark for PO button allows you to purchase this item now, directly from a vendor or you can have a drop-ship directly to the end consumer.
Also, within this module, you can integrate with alternative shipping carriers through the Shipping Settings tab. Usually, what you use is pretty standard when it comes to integration, but UPS, USPS and Purolator are just a few that we can integrate with. This functionality allows you to shop for the best shipping rates based on the packaging information and details that are set up for the items you are selling.
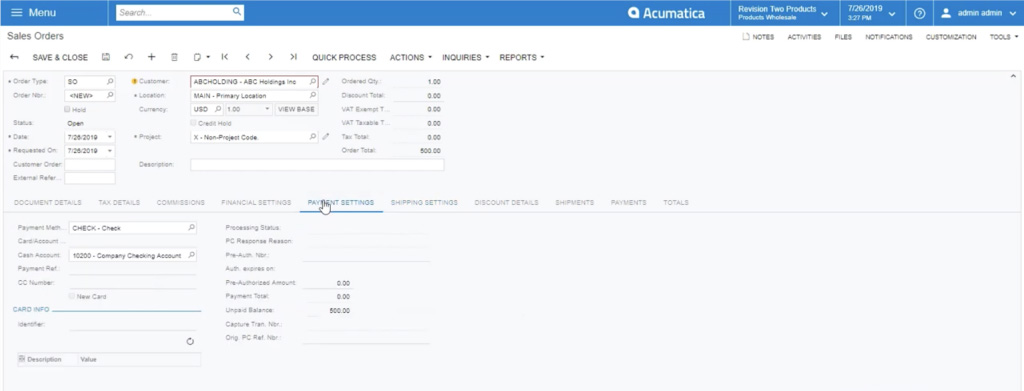
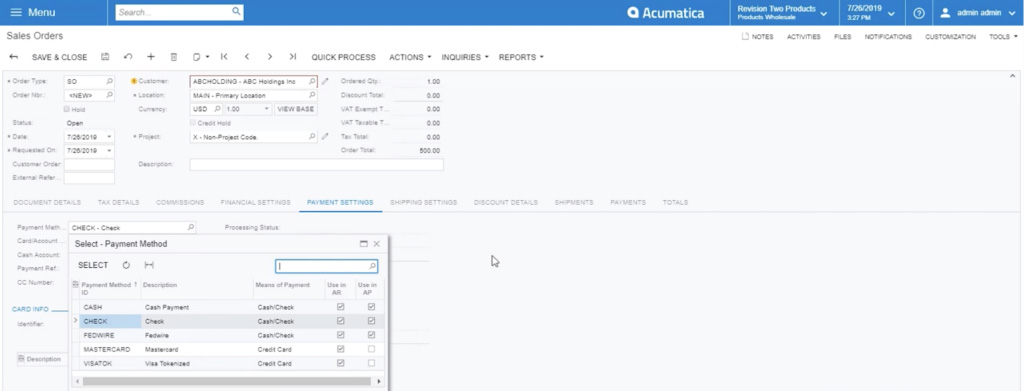
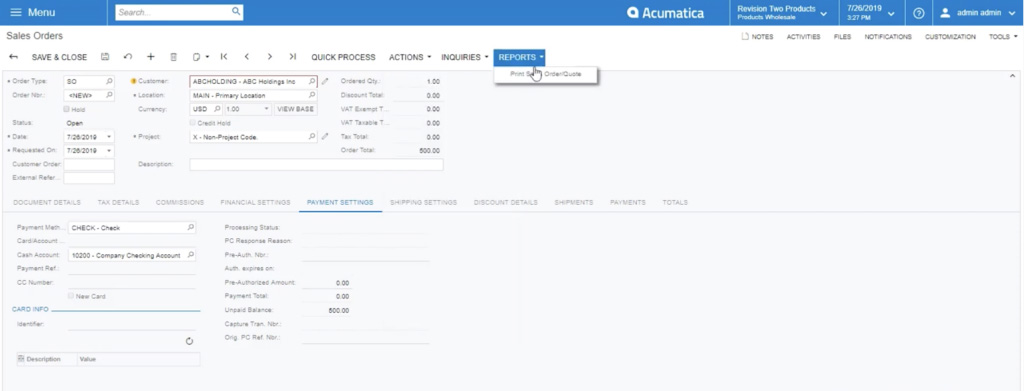
Under the Payment Types tab, we also do offer multiple different payment types for both Accounts Receivable (AR) and Accounts Payable (AP), including cash and cheque. Also, we can provide credit card integrations where we can help you achieve a PCI level compliance with the leveraged integration.
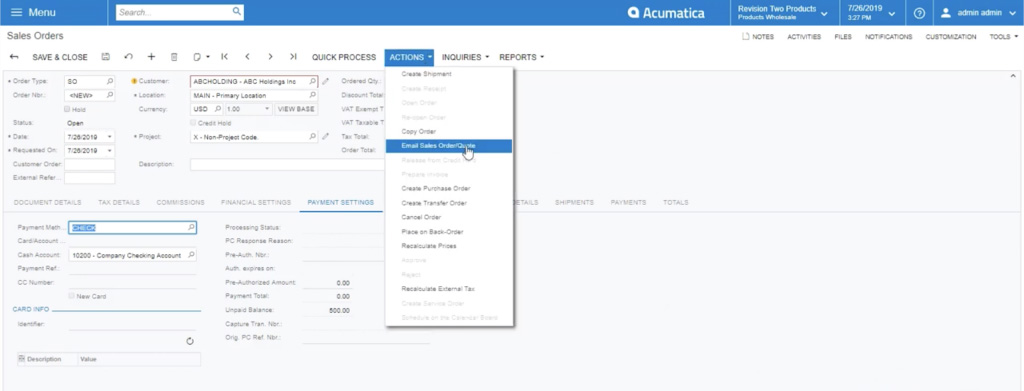
Once the order is ready, when you click Actions drop-down, you can see that Acumatica allows for multiple different ways for this to be deployed. You can either email this sales order directly to your customer or by selecting the Reports drop-down you can opt to print the sales order.
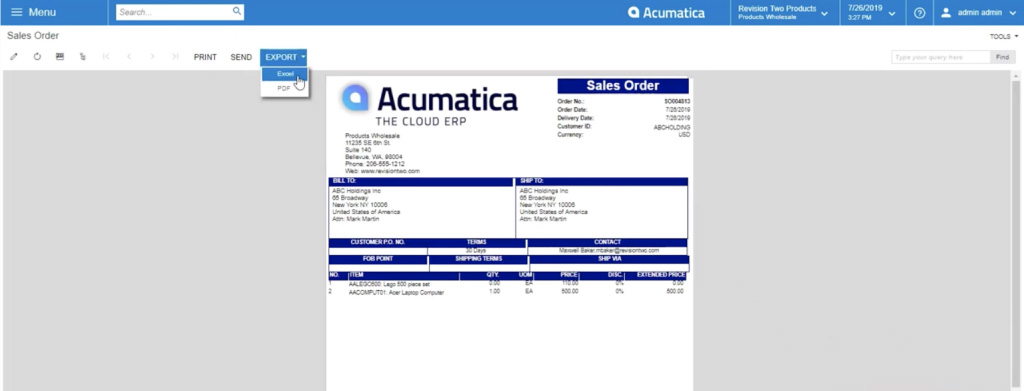
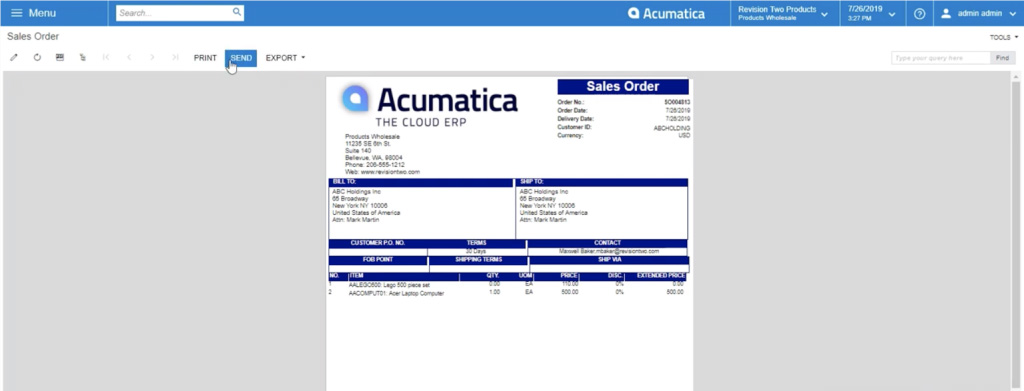
Once you open up the sales order, when you click the Export drop-down, it gives you the option to drop the sales order into an Excel file or a PDF form. You can also print it or send it from this window.
Acumatica also offers incredible robust reporting initiatives when it comes to the detailed analysis of sales orders for your customers. This gives you a good overview of what’s going on in your sales operations.
Interested in learning more about Acumatica’s robust reporting tools? Check out Leveraging Acumatica ERP for Agile Reporting.
I hope this video was insightful. If you have any questions, don’t hesitate to reach out!
Need more information on the software? Check out the overview of Acumatica Cloud ERP Software.
Remember, the company you choose to implement your software dictates the success or failure of your software investment. At Aqurus, we’re passionate about providing superior ERP solutions and support.